| Serial Number | Inspection points | Shooting quality requirements | Software checkpoint screenshot | Real Inspection Point Images |
|---|---|---|---|---|
| 1 | Full Pole View | Capture a complete and clear view of the pole to accurately distinguish the full pole structure and tower angles. | 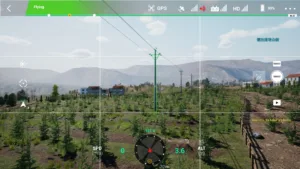 | |
| 2 | Pole Number Plate | Ensure the pole number plate is clearly identifiable. | 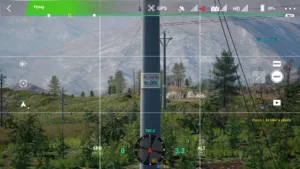 | |
| 3 | Pole Foundation | Clearly show the ground conditions around the foundation. | 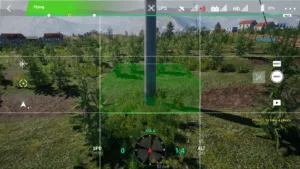 | |
| 4 | Left Insulator | Clearly capture small hardware such as bolts, nuts, locking pins, and insulators. If hardware parts are obstructing each other, take photos from multiple angles. | 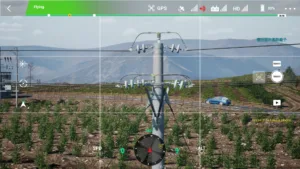 | |
| 5 | Top of Insulator | Shoot with sunlight direction (front lighting) at a 20° downward angle to clearly identify the crossarm, clamp structure, and bolts. |  | |
| 6 | Right Insulator | Clearly capture small hardware such as bolts, nuts, locking pins, and insulators. If hardware parts are obstructing each other, take photos from multiple angles. | 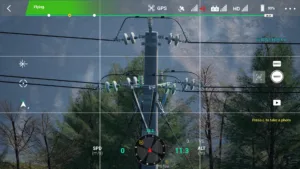 | |
| 7 | Main Line Corridor (Large-Number Side) | Keep the pole top parallel and capture a complete overview of the corridor facing the large-number side. | 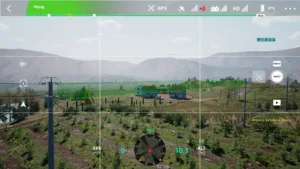 |

0%
Loading ...